Food storage is a big deal. Especially if you’re the type who preps meals weeks or even a month in advance. Yes, some folks prep meals for an entire month. And if you’re one of those people, your going to need something to keep that food fresh, in your freezer. The best vacuum sealers for food storage have similar qualities. One being, durability. You’re going to want this piece of equipment to last, in order to keep up with all that food prep! 🙂
There are many reasons to want and use a vacuum sealer. Save time and money! That’s a big reason we love them. You can buy food items on sale, freeze them in your food sealer, and you’re good to go!
You can prepare entire meals, days or even weeks or months in advance. Save the leftovers, and reseal foods such as ones that come in plastic, back in their original package. And let’s not forget about liquids! Go ahead, save that soup! Vacuum Sealers will eliminate freezer burn, reduce spoilage and a whole lot of wasted food.
And you can even seal nonfood items! Have important documents like a passport you’re afraid may get wet? Seal it! A newspaper with your team winning the World Series? Seal it!
Now that we’ve touched on just some of the things vacuum sealers can do for us, let’s get right into it! At the bottom of this page, we’ve left a comparison table for you to view them side by side.
The Best Vacuum Sealers For Food Storage – Top 5
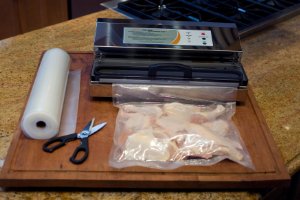
#5 Nesco Food Vacuum Sealer
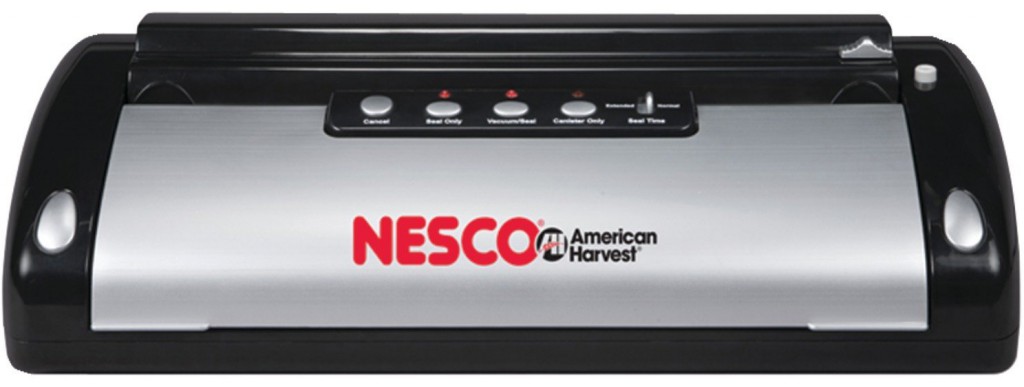
The Nesco VS-02 vacuum sealer is our number 5 pick for a few reasons. Not only is it a great machine, but it’s also the least expensive of all the models we’re talking about today. But don’t let the low cost fool you. This machine can do all the grunt work you’re looking for.
The Vacuum:
This vacuum sealer has a cylinder pump which avoids over vacuuming and crushing foods like chips and cereal. Cool! It’s an all in one, one press operation with an automatic stop. What could be easier? You can also adjust the vacuum pressure manually to your liking. There is also a hose and hose port for use of jar sealing.
Size:
It’s not necessarily a small machine, even though it looks like it might be, in the picture, measuring 11.81 inches x 18.31 inches x 5.06 inches – It comes in weighing at just under 7.5lbs. It’s smaller than some of the models we are reviewing today, although a little on the heavier side by a pound or 2.
Bags:
A roller storage includes a bag cutter for convenience.This sealer comes with 2 rolls 8.66″ X 9.8′ bag material, 5 pieces of 8.66″ X 11.8″ bags and 5 pieces of 11.0″ X 11.8″ bags.
The bags are microwave safe, but it does not specify if they are BPA free. You can use other bags which do specify BPA free such as FoodSaver bags.
What We Wished: The trickle plate is not removable for cleaning.
It’s a good looking unit as well, in black and silver which should blend with just about any kitchen. Thumbs up for us!
#4 FoodSaver V2244 Vacuum Sealer
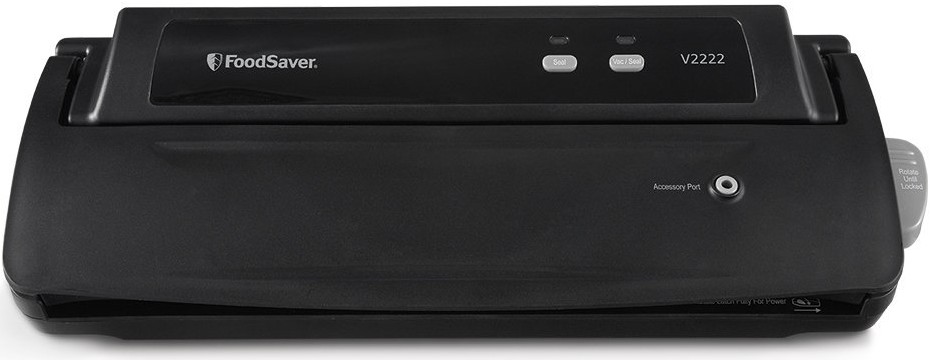 The FoodSaver V2244 is our next pick. This is a GREAT machine. And the price is just so right! Coming in just under 80 bucks, this is a fantastic vacuum sealer for all your food needs. With a removable drip tray, unlike the Nesco, which makes cleaning up, that much easier.
The Vacuum:
The vacuum performs beautifully, with a heartbeat pulse, giving you the opportunity to seal in things such as crackers, cereal, and all other easily breakable types of food, all without crushing them. The FoodSaver V2244 boast in keeping food fresh 5X longer than simply storing food in a Zip-Lock That’s a long time. So if you’re keeping beef stored in your freezer for 6 months, FoodSaver will keep it for 2-3 years! That’s impressive 🙂
Size:
Slightly smaller than the Nesco we reviewed above, at 17.72 inches x 5.91 inches x 10.64 inches. This also weighs a mere 5.8lbs.
Bags:
This unit comes with 1 FoodSaver Heat-Seal Roll 11 in. x 10 ft.,
3 FoodSaver Heat-Seal Pre-Cut Quart-Size Bags
2 FoodSaver Heat-Seal Pre-Cut Gallon-Size Bags
The bags are microwave safe, and BPA free
What We Wished:
The buttons on top of the unit have words written on them. They’re not labels, and after just a few uses/cleanings, they start to fade and disappear. Sort of annoying, and we think they could have done a better job with this. But overall, this is a great product for the price.
#3 FoodSaver 4840 2 in 1
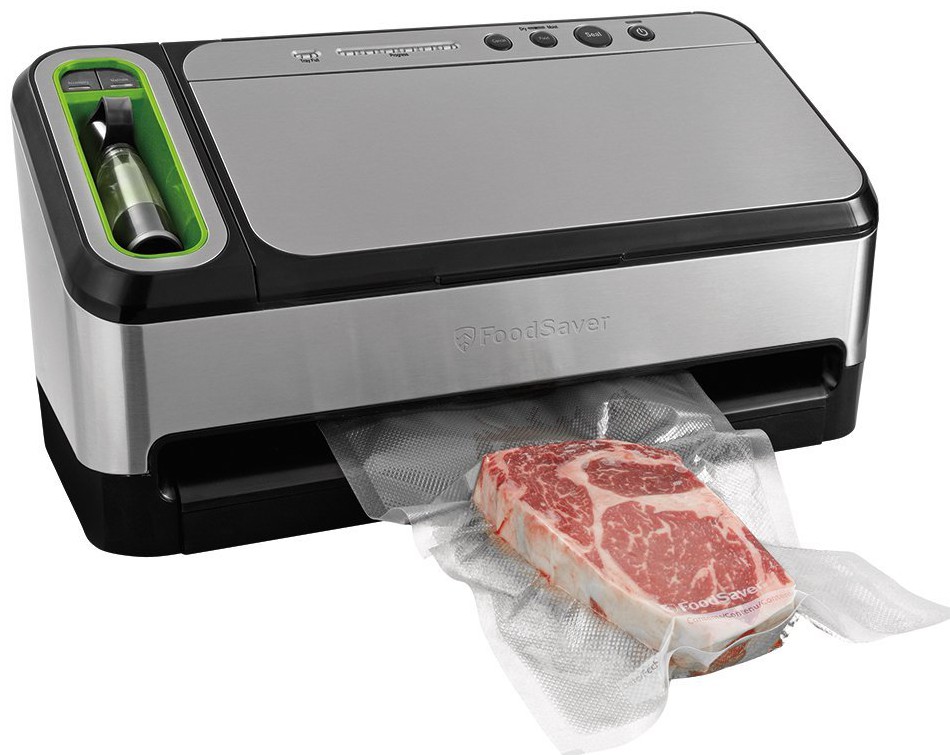
This is a fantastic model. Another one from FoodSaver. A bit more expensive than the two others we reviewed, but for very good reason. You get a lot with this vacuum sealer unit. To start with, it has a built-in retractable handheld sealer, which seals zip-lock bags, canisters, containers, and jars! This alone is worth the bump in price. Also a pull out drip tray for easy dishwasher cleaning. Another super feature is the convenient roll storage and cutter. No need for scissors! Here a some more things that come along with this model.
Vacuum:
As we mentioned above, the retractable handheld sealer. Cool. Also allows you to seal things such as chips and cereals, along with liquids. It has a moist/dry food setting for optimal sealing. You’ll love the strong powerful vacuum. Another awesome perk to this unit is the automatic seal. Just place the bag in the sealer and it begins to seal. No buttons needed!
Size:
12 inches x 11 inches x 20 inches Slightly long and tall, so you’ll need counter space for this model. But if you have the room, we highly recommend it.
Bags:
Comes with a starter pack, which includes:
(1) 11″x10′ Roll
(3) Qt Heat-Seal Bags
(2) Gal Heat-Seal Bags
(3) Qt Zipper Bags
(2) Gal Zipper Bags
What We Wished:
The automatic sealer won’t always recognize when the bag is placed to be sealed. This could get frustrating at times, needing 3 or 4 tries before it works. Thinking this is an easy fix, and FoodSaver should have done a better job.
Overall, this is a wonderful product.
#2 Weston Pro-2300 Vacuum Sealer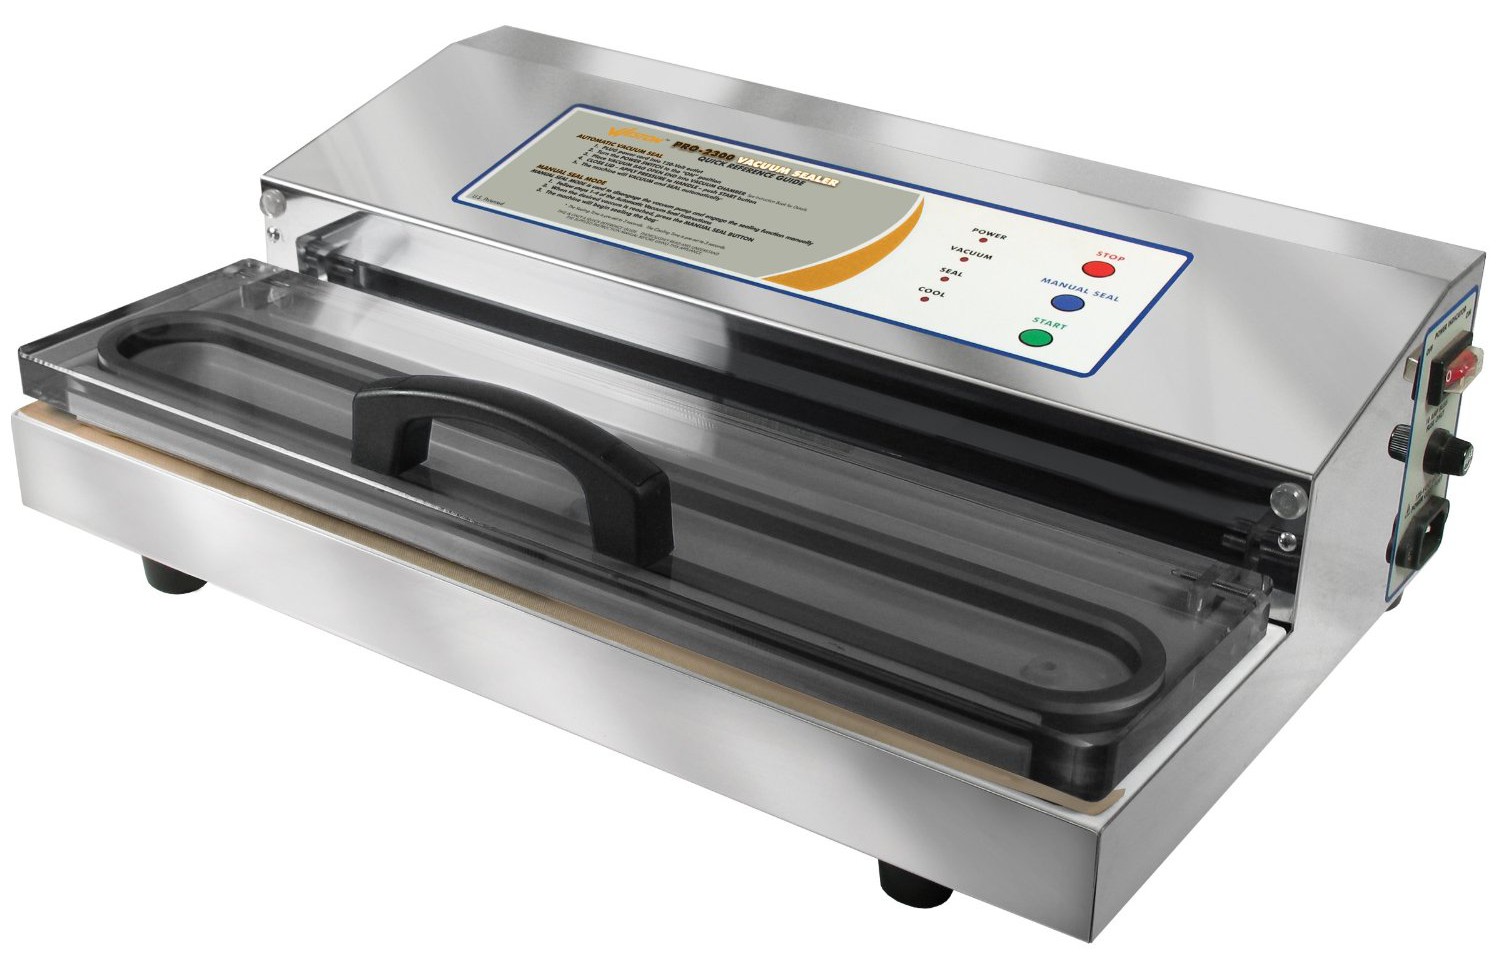
Oh yeah! The Weston Pro 2300 Vacuum Sealer. This one is for the big boys (and girls)! There’s just no messin’ around’ with this unit. It’s truly commercial grade and really blows everything else out of the water. The price tag will reflect that as well. But if you really want to step up your game with your food storage, this is the vacuum sealer you’re looking for. Here are just a few great features.
- Tested for safety and health
- Countertop vacuum sealer keeps food fresh 5 to 6 times longer
- Auto mode for one-touch operation or manual mode for a custom seal
- LED lights; extra-large Teflon bar can seal bags up to 15 inches wide
- Double-piston vacuum pump; transparent lid; fan-cooled motor; cord storage
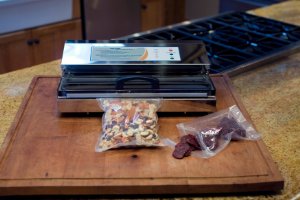
This is the largest sealer in the industry. This unit can seal just about anything from game meats to documents, coffee beans to coins. You name it, it seals it. Check out the power of this machine and all the great amenities that others lack.
-
- Powerful, double piston pump seal bar finishes the job fast.
- Pump draws up to 28′ Hg vacuum strength
- With 935 watts (120 volts, 60 Hz) of power
- Extra wide, 5mm seal bar creates a solid, dependable seal every time. Even seals through moisture
- Extra-long 15″ (38 cm) seal bar means you can seal a variety of vacuum sealer bags, up to 15″ across
- Fan cooled motor designed specifically for continuous, repetitive use without overheating
-
-
Beef / Chicken
-

-
Cold Cuts
-
-
Nuts / Chips / Dried Fruit
This unit is much quieter than the FoodSaver. It also has much less waste of the bagging material than the FoodSaver as well. Add to that, the bagging material is actually less expensive than the FoodSaver as well. A lot of pluses to this unit. Super high quality and sucking power that out does any other model on this top 5 list. It’s hands down, a pro.
Size:
It’s bigger than the others, as well as heavier. But its built that way for a reason. High-quality construction. 15.3 x 23 x 9 inches ; 14.4 pounds
What We Wished:
This unit doesn’t come with a built-in bag cutter. That’s a bummer. For the price you pay for this unit, it should have been a no-brainer. But we can’t let that issue stop us from putting this in spot #2 out of the 5.
#1 Vacmaster VP210 Vacuum Food Sealer
OK, so this one may not be for everyone, but we wanted to give a good range for you all to choose from. If you thought the Weston Pro was badass, then take a step back and look at this one! What makes this special and different from the others, is that it’s really perfect for the liquids. That’s why the other units have drip pans. Because when sealing liquids, air is vacuumed out, inevitably pulling some liquid with it. Also compromising the seal. But you won’t have to worry about that with the Vacmaster.
When sealing bags with the Vacmaster, you place the bags inside the unit. When air is vacuumed out, it not only vacuums the air out of the bag but out of the unit itself, keeping the air pressure even, eliminating liquid from escaping. The chamber reaches a higher level of vacuum. Most other vacuum sealers reach 24-26 hg level of vacuum while the Vacmaster chamber machines are able to obtain a 27-29 hg level of vacuum.
But it’s not just liquids. We’ve seen entire chickens sealed up in this chamber.
Size:
Its big. Bigger than the others we’ve recommended. Measuring 24 x 19 x 19 inches; and weighing in at a whopping 83 pounds! This is for the serious family!
I hope this has given you a better look at what we believe are the best vacuum sealers for food storage. Some will do just what you need while others can handle daily heavy use. Please comment, share or let us know what you think below! We’d love to hear from you 🙂


 Ahhh…. coffee. So many things to love about coffee. The taste, the smell, the “it’s always a good time for coffee” feeling. And although you may think there’s no need to know how to make coffee at home without a coffee maker, there are times you may need to do this! What if your coffee maker stops working? What if the power goes out? (which is exactly what happened to me!) There are plenty of “what ifs.”
  2003 when the east coast went dark. Waking up in the morning, coffeeless, was not a good start to the day. We needed coffee and we needed it NOW.


 instead.
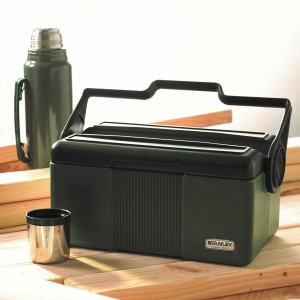
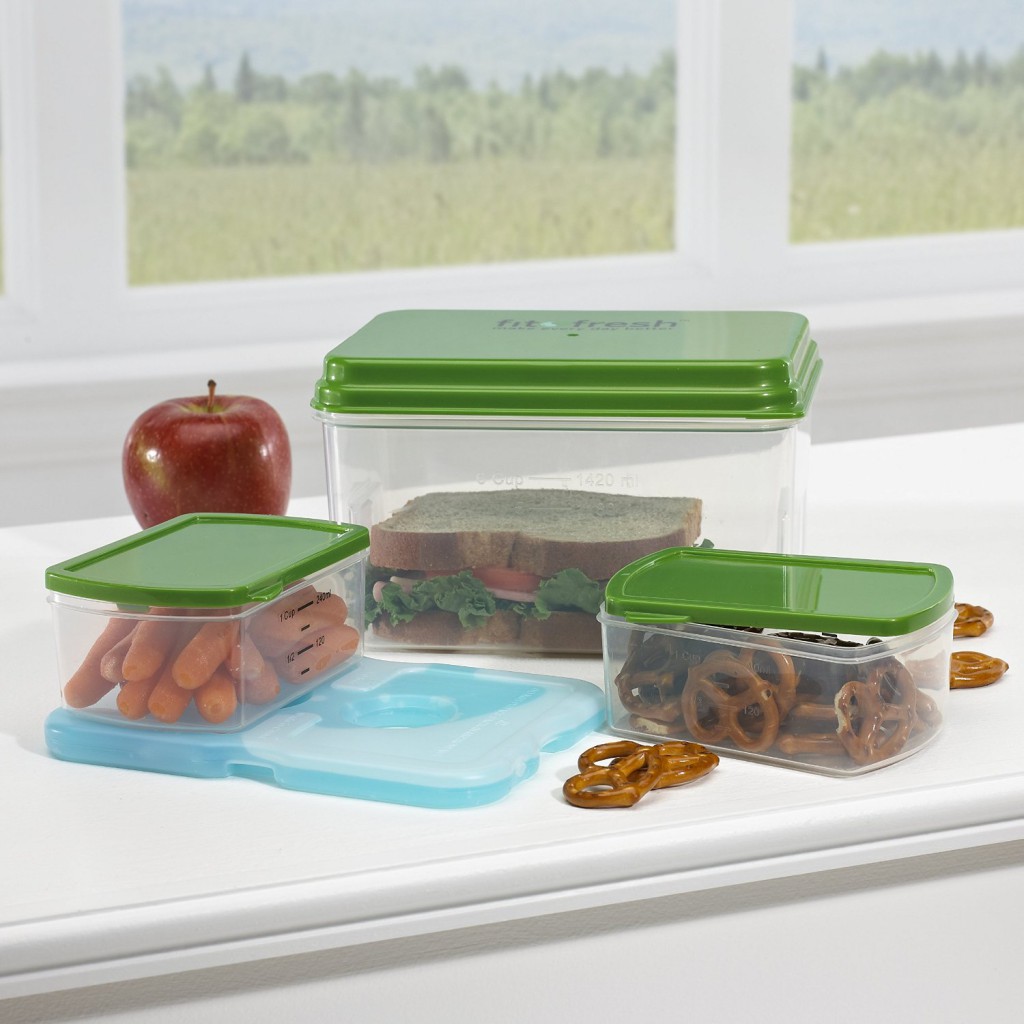
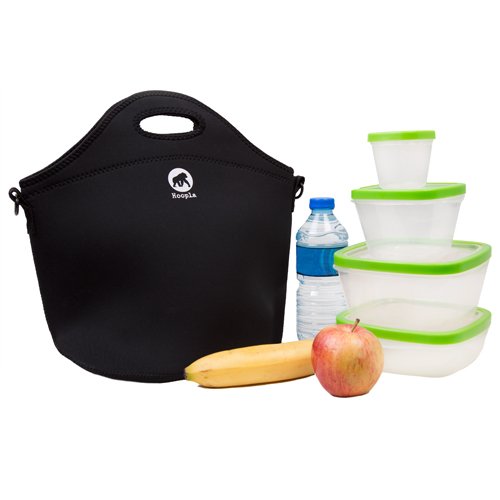
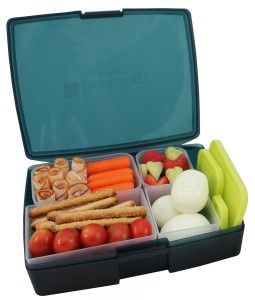
 along. Don’t over think things. The obvious snacks like nuts or dried fruit are also good options.
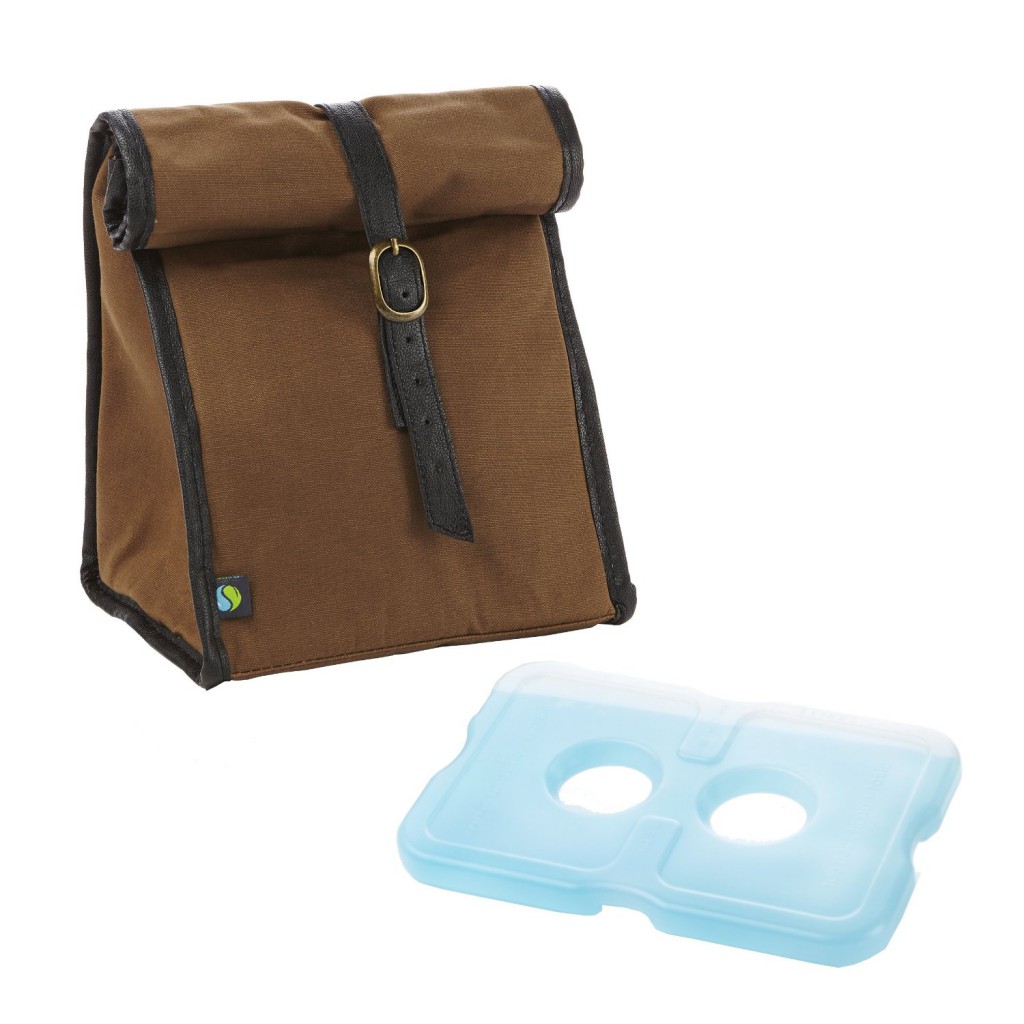
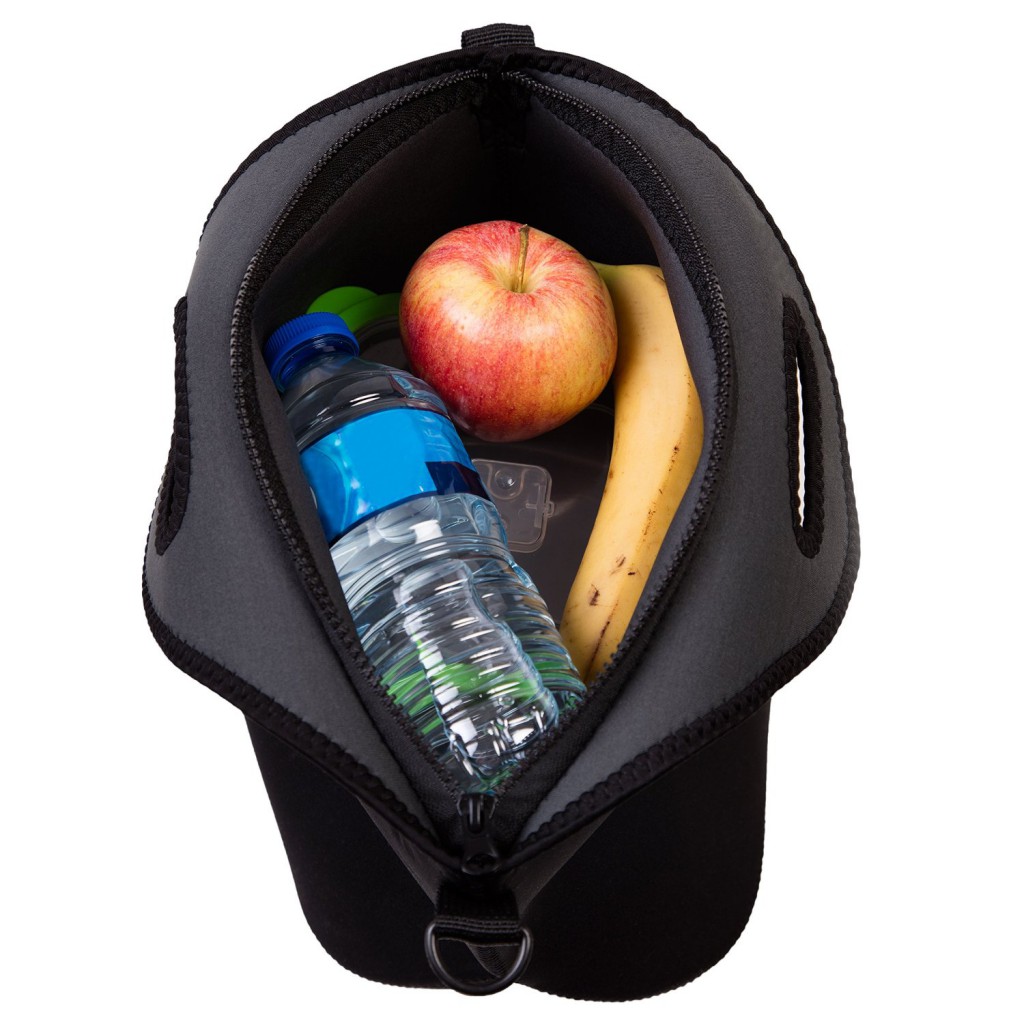
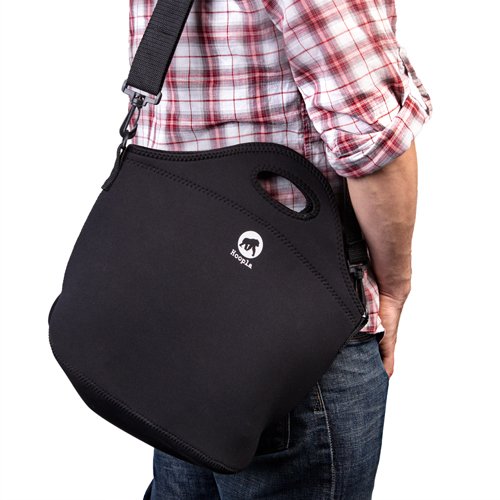
 When searching for a lunch box for men, there are certain things we need to keep in mind. First and foremost, we’re men. (insert eye roll here). We’re simple. And I don’t mean that in a bad way. In fact, I kinda like it! We


 So there you have it. Just some things honey can start helping you with. Have a glass first thing when you wake up, or right before bed. And here are just a few more things honey water can help with!


 for the proper taste. Other types may turn your candy dark and be overpowered by the molasses taste. If you use a stronger tasting molasses, be sure to cut back on how much is used. That will all be dependent upon your taste. Here we go!